

*We’re committed to transparency. Products marked with an asterisk were given to us to try by the brand. As always, all thoughts expressed on Rouge18 are our honest opinions.
About the Collection
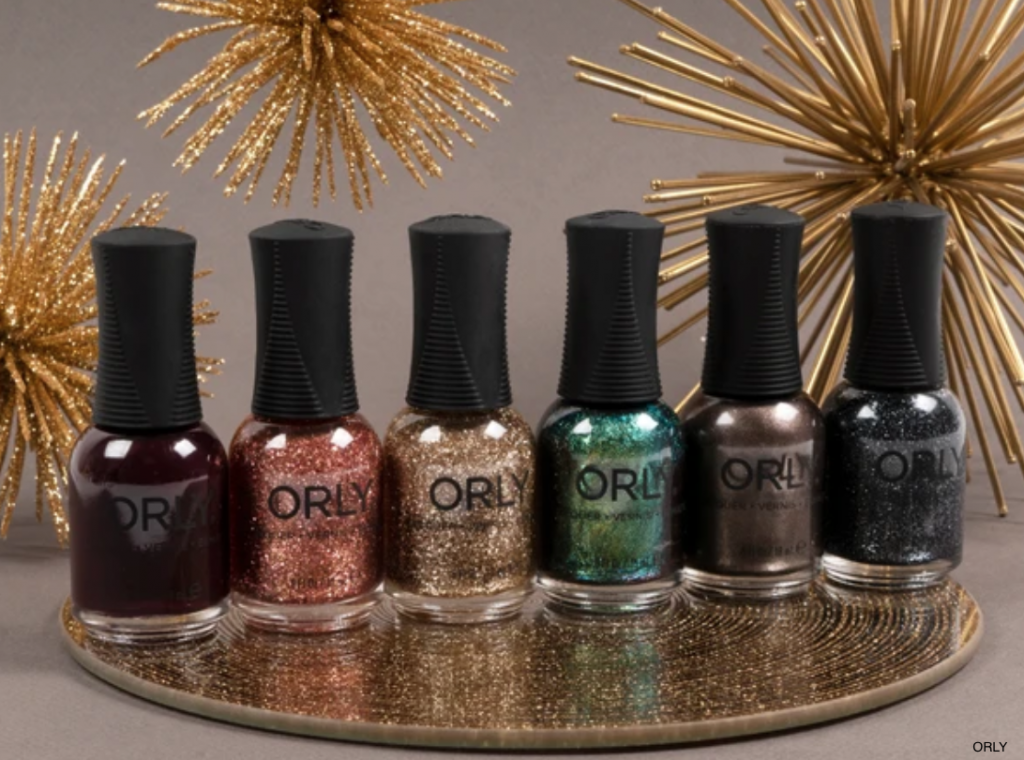
ORLY’s Holiday Collection for 2020 is the Metropolis Collection! Inspired by the opulence of Gatsby and the Roaring ‘20s, this collection is perfect for winter / holiday celebrations. With 6 shades in total, you get a mixture of finishes, from cremes to shimmers to glitters, and a variety of tones, from gold to emerald to deep cherry. All 6 shades are available in ORLY’s long-wearing Lacquer formula as well as their GELFX formula. For a limited time, you can get the Metropolis Collection at orlybeauty.com and save 30% sitewide with code BYE2020.
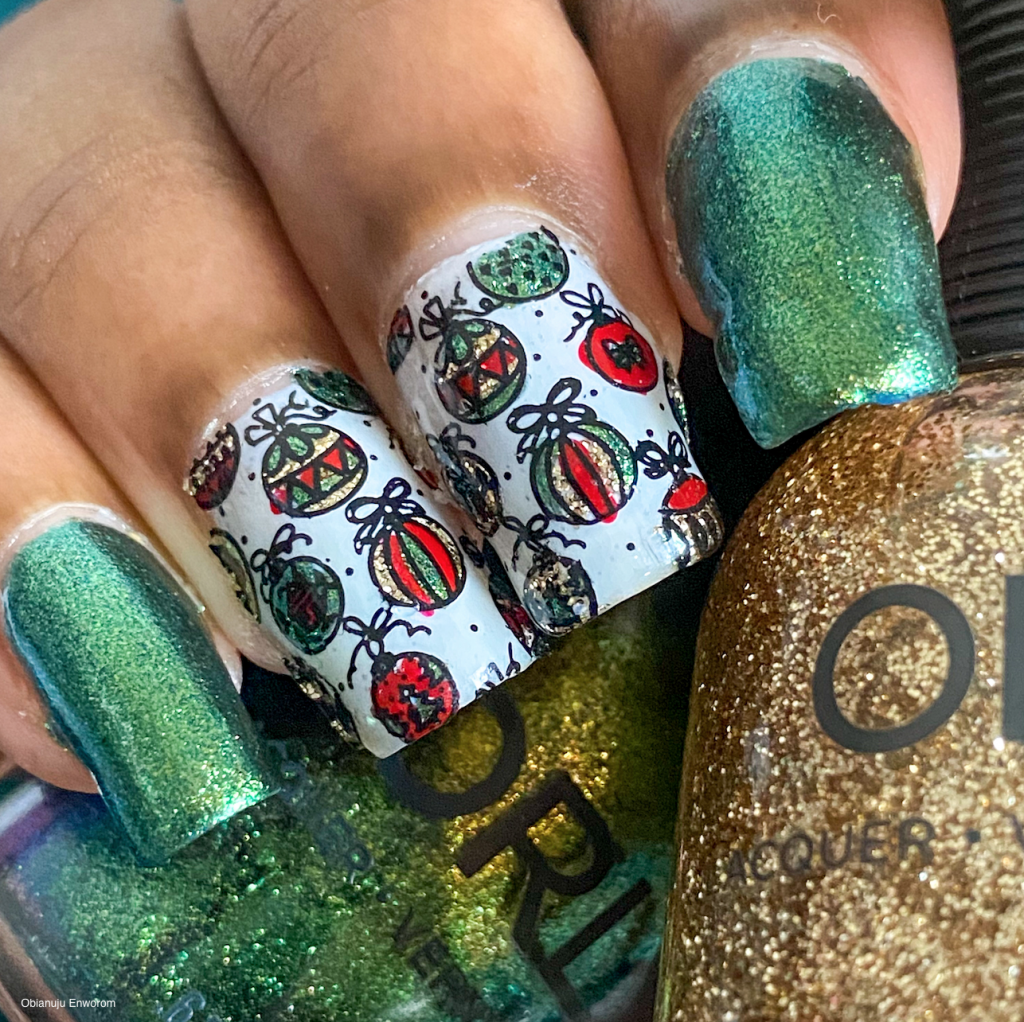
As always with ORLY, these polishes are fantastic. The cremes are so rich and the glitters are perfectly sparkly. My favorite shade from the Collection, Nouveau Riche, is a dazzling emerald shimmer everyone needs for this time of year and it is featured prominently in the nail art look below.
This week’s manicure drew inspiration from the indulgence of the Metropolis Collection to create a holiday ornament look. Read on to see how I did it!
What You’ll Need
2. Vibrant Vinyls Double Bond 2 in 1 Sticky, Ridge Filling Base Coat
3. *ORLY Nail Polish in “Nouveau Riche” & “Untouchable Decadence” from the Metropolis Collection
4. NYX Cosmetics Nail Polish in “Drop of Dew”
5. Maniology MXM 043 Stamping Plate (Mani x Me subscription required)
6. Maniology Ice Cube Stamper & Scraper
7. TwinkledT Stamping Polish in Vibin’ and Lit
8. Hit the Bottle “A Glint of Gold” Stamping Polish
10. Moyou London’s Smudge Resistant Premium Top Coat
11. Vibrant Vinyls Fast & Hard Quick Dry Glossy Top Coat
I used nail stamping to achieve this look. For detailed explanations and video tutorials of nail stamping check out our In-Depth Guide to Nail Stamping.
How To
Step 1: Prep all nails with the Cuccio Dehydrator to remove any oils from the nail plate.
Step 2: Apply Vibrant Vinyls Double Bond 2 in 1 Sticky, Ridge Filling Base Coat to all nails to extend the wear of your manicure and fill in ridges for a smooth base.
Step 3: Apply 2 coats of ORLY Nail Polish in “Nouveau Riche” to your thumb, index finger, and pinky finger.
Step 4: Apply 2 coats of NYX Cosmetics Nail Polish in “Drop of Dew” to your middle and ring fingers.
Step 5: Use the reverse stamping technique to create the ornaments image. First, pick up the image from the Maniology MXM 043 Stamping Plate using the Maniology Ice Cube Stamper & Scraper and TwinkledT Stamping Polish in Vibin’. Then, fill in the ornaments with
TwinkledT Stamping Polish in Lit, Hit the Bottle “A Glint of Gold” Stamping Polish, and ORLY Nail Polishes in “Nouveau Riche” & “Untouchable Decadence.” Allow the stamp to dry.
Step 8: Apply a thin layer of Maniology Sticky Base Coat to your middle and ring fingers. Let it sit for 30-45 seconds until tacky.
Step 9: Apply the ornaments stamp you created in Step 5 to your middle and ring fingers.
Step 10: Apply Moyou London’s Smudge Resistant Premium Top Coat to your middle and ring fingers, to prevent your stamping designs from smearing in the next step.
Step 11: Apply Vibrant Vinyls Fast & Hard Quick Dry Glossy Top Coat to all nails to seal in your manicure.
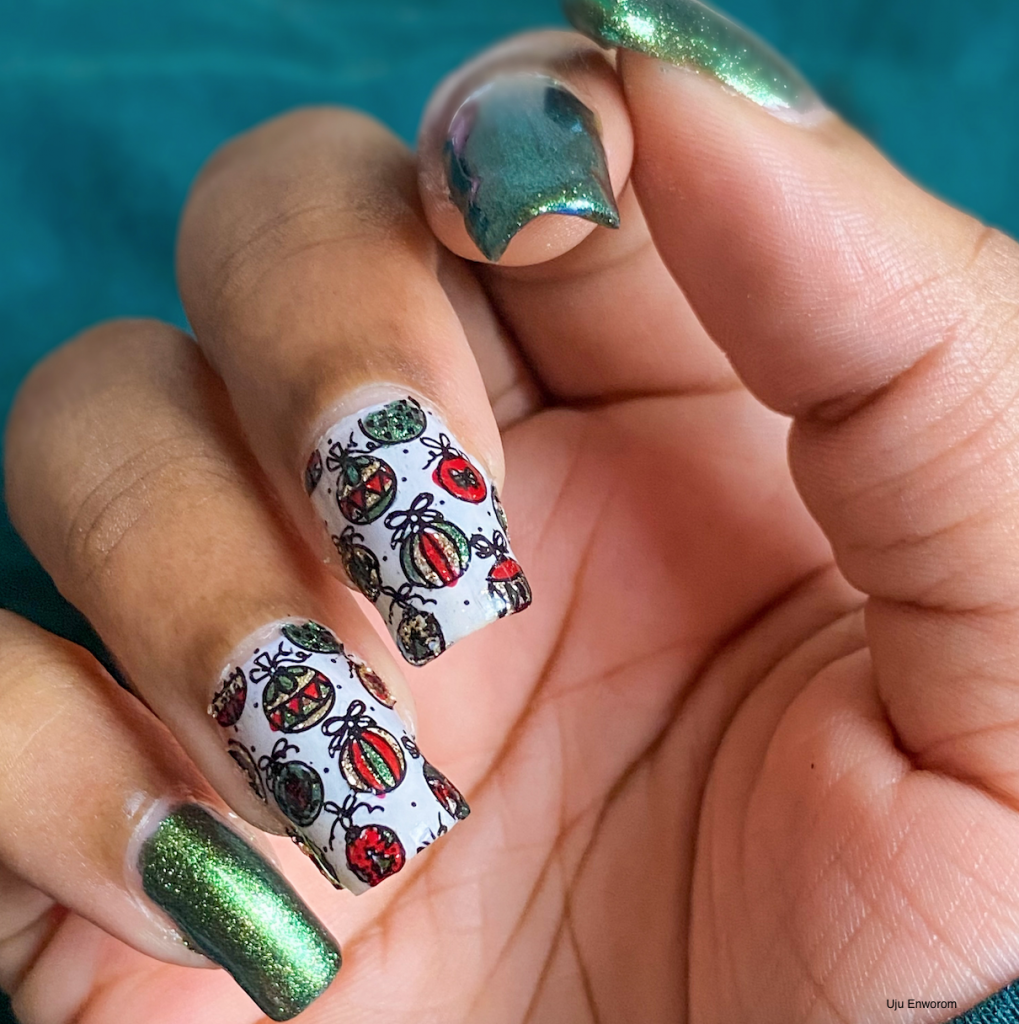
The Final Look
Can’t get enough? Check out more Rouge18 nail stories here!
Related Posts
 New From Lipstick Queen: Fired Up Power Gloss and Fifteen Minutes of Fame Pop Art Gloss
 The Secret To Emily Ratajkowski’s Verdant Gaze
 Get The Look: Lauren Conrad at the LC Lauren Conrad for Kohl’s Launch
 Here’s A 2,000 year-old Ancient Roman Face Cream
 In Memoriam: Titles Leaving Netflix in May (Plus Titles Coming)
 Glow-y Days Week: Full Body Spray Tan at Haven